Fields
Within this section Users can create, edit and remove metadata fields used throughout the application. Fields can be assigned to various parts of the application via Contexts and can be attributed to both Documents and Knowledge Bundles.
Fields can be set as enabled within this configuration or disabled/deleted if no longer required. If you disable a field then it will not appear within the placeholders list in notifications or within the Fields section under any Context within the application. Note that the field is still available to be attributed to a Context but will be labelled as disabled and not appear to the end user.
If you attempt to delete a field that has metadata attributed to existing Documents/Bundles then a warning message will appear. You will still be able to proceed with the deletion and all the field metadata for the specific field will be removed from any associated Document/Bundle. If you do not want to delete this data then you can disable the field instead.
Some fields can be set with certain restrictions. If a user tries to enter a value not meeting the restriction requirements then they will be unable to save their changes and a validation message will appear.
There are six field types that can be created within Blueprint:
Boolean Fields
These provide a Yes/No dropdown option for users. The only mandatory information you will need to configure is a Field Name.
Text Fields
This allows free text to be entered within the Field. The only mandatory information you will need to configure is a Field Name.
The field configuration also allows you to set a Regular Expression restriction to ensure that data entered by users confirm to a specific structure. For example you could use the following restriction to ensure that data populated into the field adheres to a specific format such as the value has to end with ‘KM' you would use the restriction ‘KM$’
Further information can be found on this Microsoft page.
You can also set a summary explanation for the Regular Expression formatting to provide a more user friendly validation message:

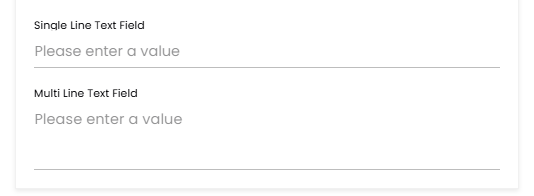
You are also able to set single and multi line text fields via this option:

Disabling or enabling this option will mean Text fields can either appear as single or multi line fields:
Taxonomy Fields
This allows you to create Taxonomy structures where users can select one or multiple Taxonomy values.
Selecting this option opens a Taxonomy Editor:
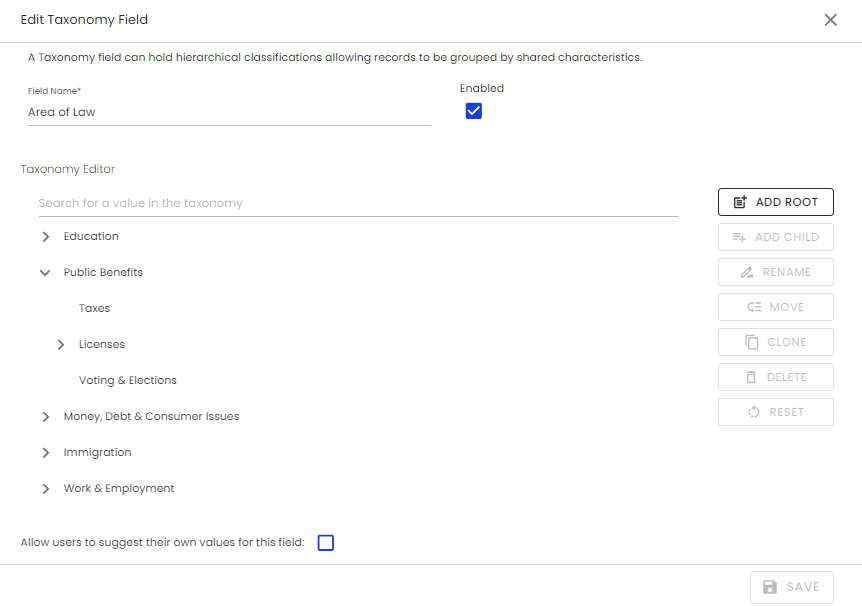
The only mandatory information you will need to configure is a Field Name. However, the field will be unusable unless value are created.
Taxonomies can be reordered using the reorder feature. This allows the user to move a Taxonomy up and down the list that contains them to create a custom order.
Add Root
You can create top level values by using the ‘Add Root’ button, this will create the new root and allow you to enter a name for the root value. Only one root can be created at a time, once you have entered a name and clicked to accept the value the Add Root button will be re-enabled.
Add Child
You can create lower level child values under the root by selecting the root and clicking the ‘Add Child’ button. This will then allow you to enter a value and accept the new child. Only one Child can be created at a time, once you have entered a name and clicked to accept the value you can then continue adding.
You can create child values under roots and also under other child values. There is no limit to the number Taxonomy levels you can create under a single root.
Rename
You can select any root/child value and click on the ‘Rename’ button or simply click on the root/child value and then rename the value.
Move
You can select any root/child value and click on the ‘Move’ button to move the value selected and any children under that value to a new root/child.
Clone
Similar to the Move functionality you can copy a root/child value and paste the selected value and any children under that value to a new root/child. The existing taxonomy will remain in its current place.
Delete
You can delete any root/child values by selecting them and clicking the ‘Delete’ button. This will delete the selected value and any children underneath.
Tag Fields
This allows users to select one or multiple values from a pre-determine single layer list of options. The only mandatory information you will need to configure is a Field Name and at least one Tag.
Number Fields
This allows users to enter a numeric value within the field. The only mandatory information you will need to configure is a Field Name.
The field configuration also allows you to set a minimum/maximum restriction to ensure that data entered by users conform to a specific value. Either a minimum or a maximum (or both) value can be used.
You can also set the field to allow/disallow decimal point values to be entered.
Date Fields
This allows users to enter a date value within the field. The only mandatory information you will need to configure is a Field Name.
The field configuration also allows you to set a minimum/maximum restriction to ensure that data entered by users conform to a specific value. Either a minimum or a maximum (or both) value can be used.
User Fields
This allows users to enter internal users as a value against a Document or Bundle. This field feeds information directly from your Azure Entra Id. The only mandatory information you will need to configure is a Field Name.
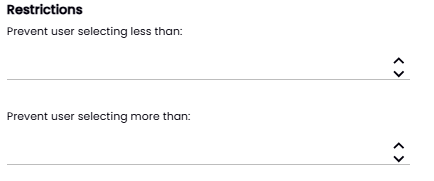
The field configuration allows you to set a minimum/maximum restriction for the number of ‘users’ a user can select:
The field configuration also allows you to restrict the field to only display specific Application Roles, Entra Groups or Entra Users:
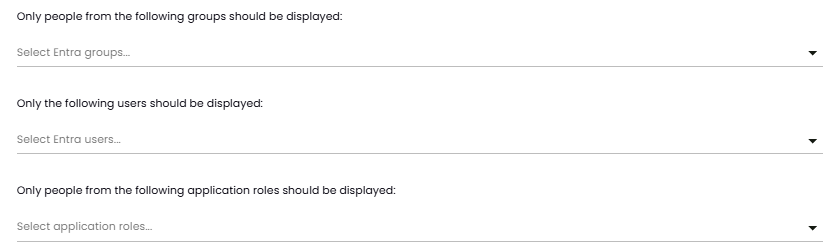
These restrictions are additive so if you select and entra group and a specific entra user (who isn’t in the entra group) then both the individual selected and the individuals under the group will be available for selection in the field.
Leaving these fields as blank will mean that your entire Azure Entra Id list will be available for selection in field.